In this article today I will explain my process for sucessfully removing paint from a drum wrap.
My process is quite simple and requires limited use of chemicals. I disassemble the drum (leaving the badge still attached to the shell). From there I do testing to see how thick the paint is. I normally start with 320 grit sand paper, sanding the shell. This will give me a good indicator to how easily the paint will come off. If the paint is not coming off or is too thick, I will switch to a new razor blade and scrape a section of the paint. The razor blade tends to take off more material faster but it can leave deeper scratches in the wrap that may be difficult to sand out without afffecting the finish. In my process I tend to use a combination of both sanding and scraping to remove the paint on the shell.
Once the paint is removed, I move over to the sanding and buffing process. I wet sand the wrap from 220 all the way up to 3000 grit to bring back a smooth surface to the wrap. From there I used a buffing machine with plastic polish to bring the shine back to the finish. Lastly all thats left is to reassemble the drum. Overall its a simple process but it is very time and labor consuming.
*Also to note, some restorers have had success using chemical to remove paint from wrap, however I choose not to use this method. Many of these chemicals can react with the plastic wrap, risking damage such as melting or leaving a haze to the finish that cant be buffed out. While it takes more time, I prefer and highly recommend the slower, manual approach of scraping and sanding to ensure that the original wrap stays intact and the final result looks as close to factory-new as possible.

Removing Paint From A Drum Wrap
Restoration Examples:
Ludwig Black Galaxy Jazz Festival Snare Drum Restoration
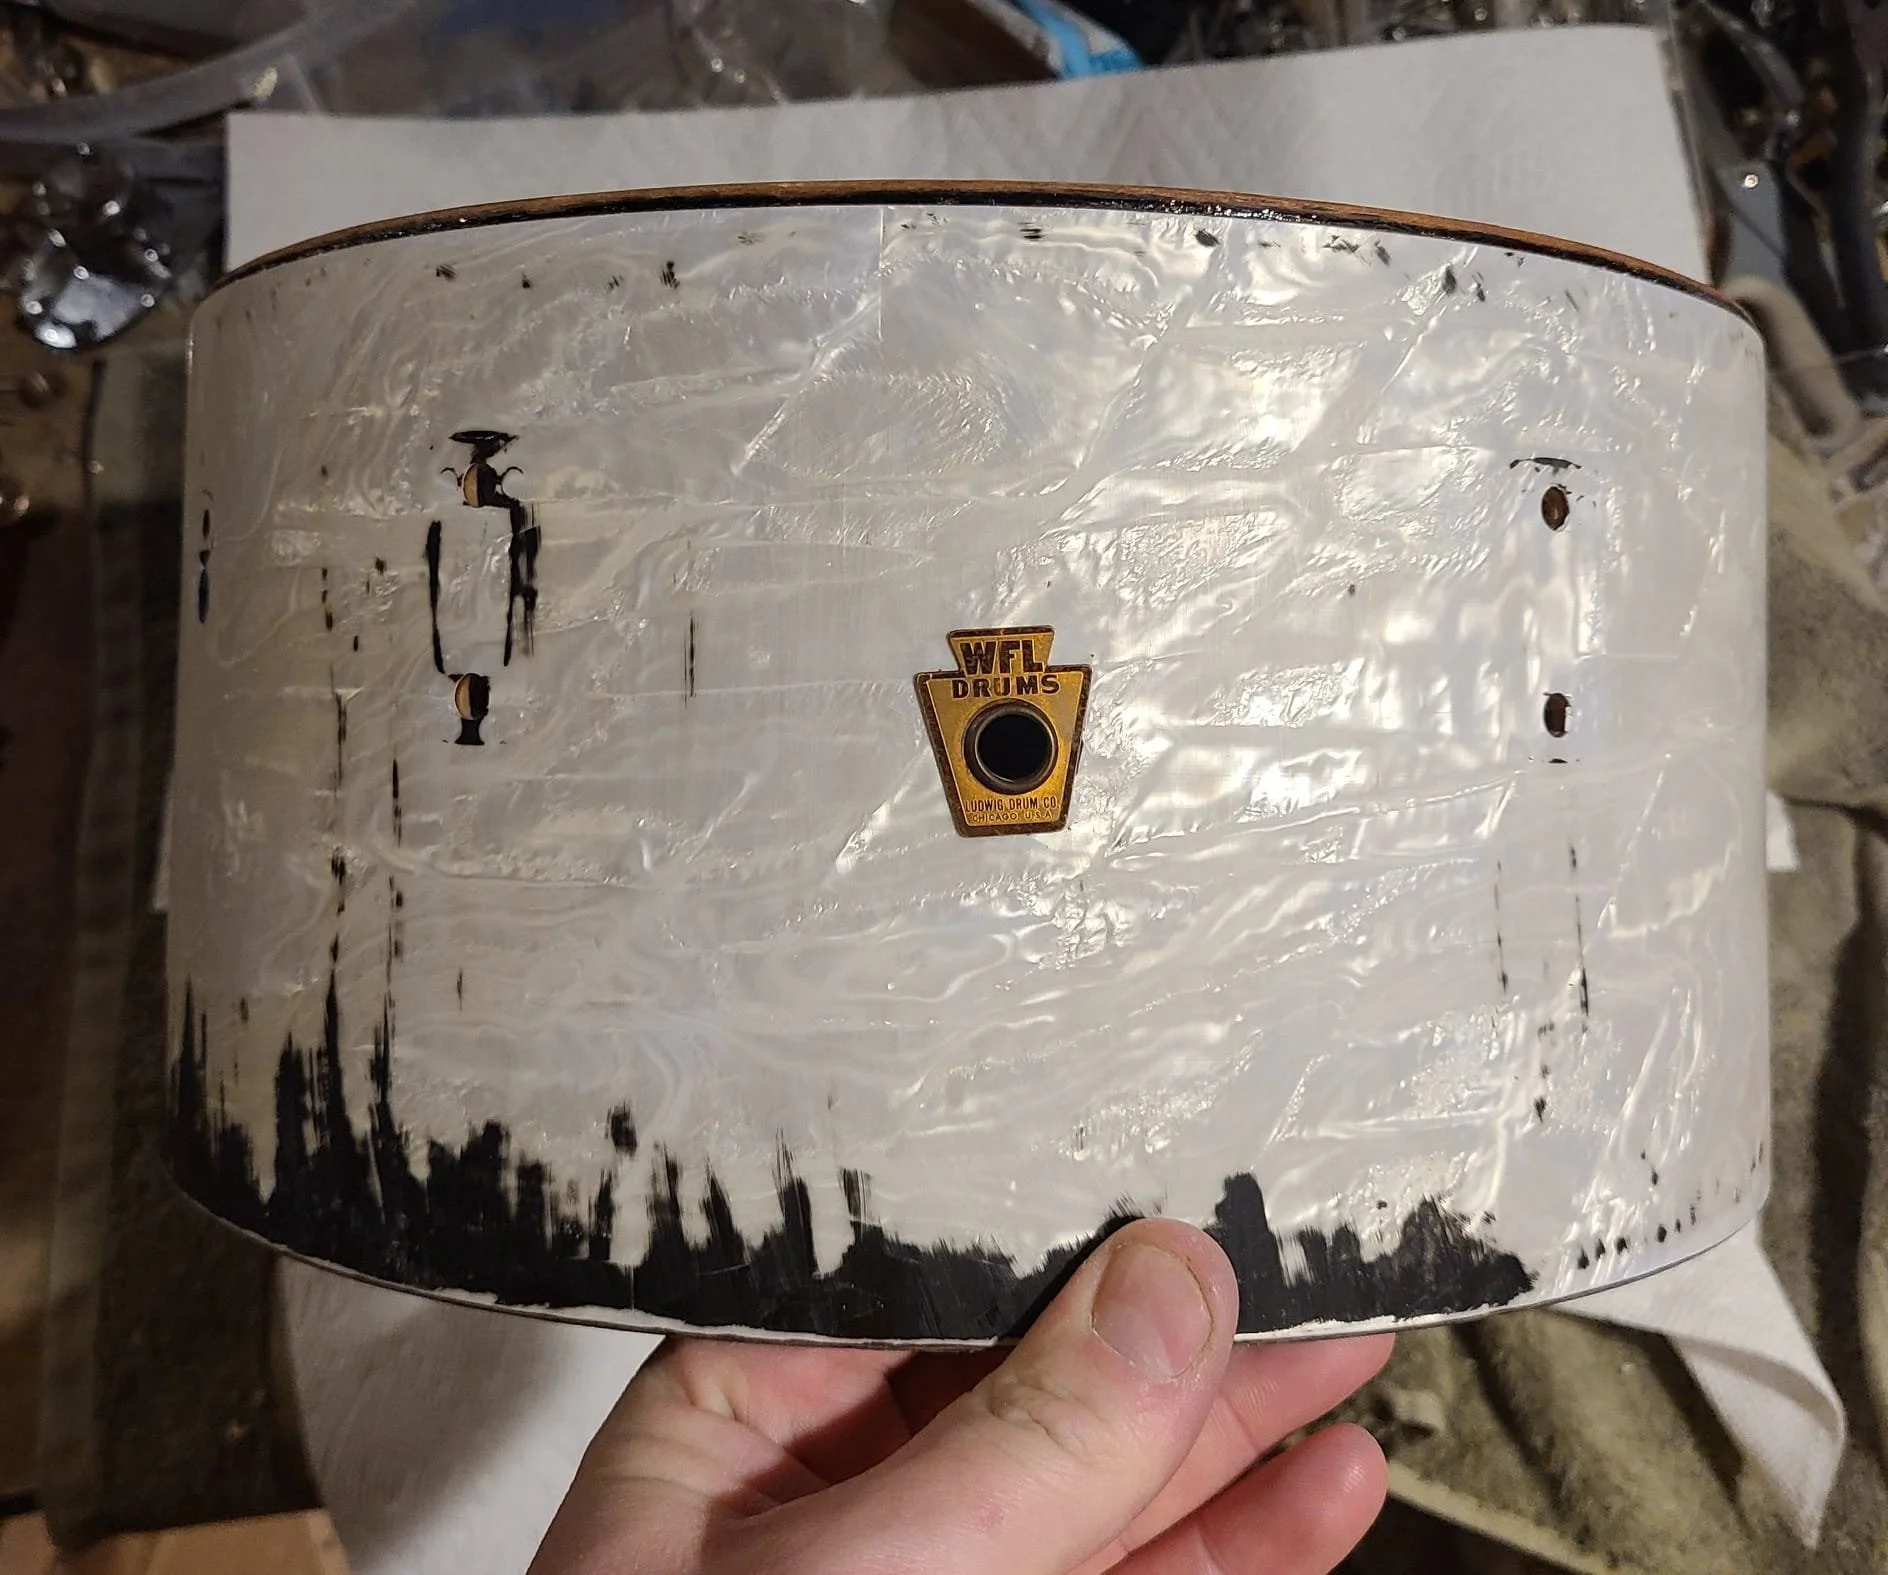
This Ludwig Black Galaxy Jazzfest came to me completely covered in a thick layer of paint and in desperate need of restoration.
The first step in the restoration process was to carefully strip away the paint. I used a razor blade for this stage, taking my time to remove the bulk of the paint without damaging the wrap underneath. Once most of the paint was gone, I sanded the shell with 220 grit sandpaper to remove the remaining residue and even out the surface of scratches left behind from the razor blade. At this point, the drum had a dull, matte finish.
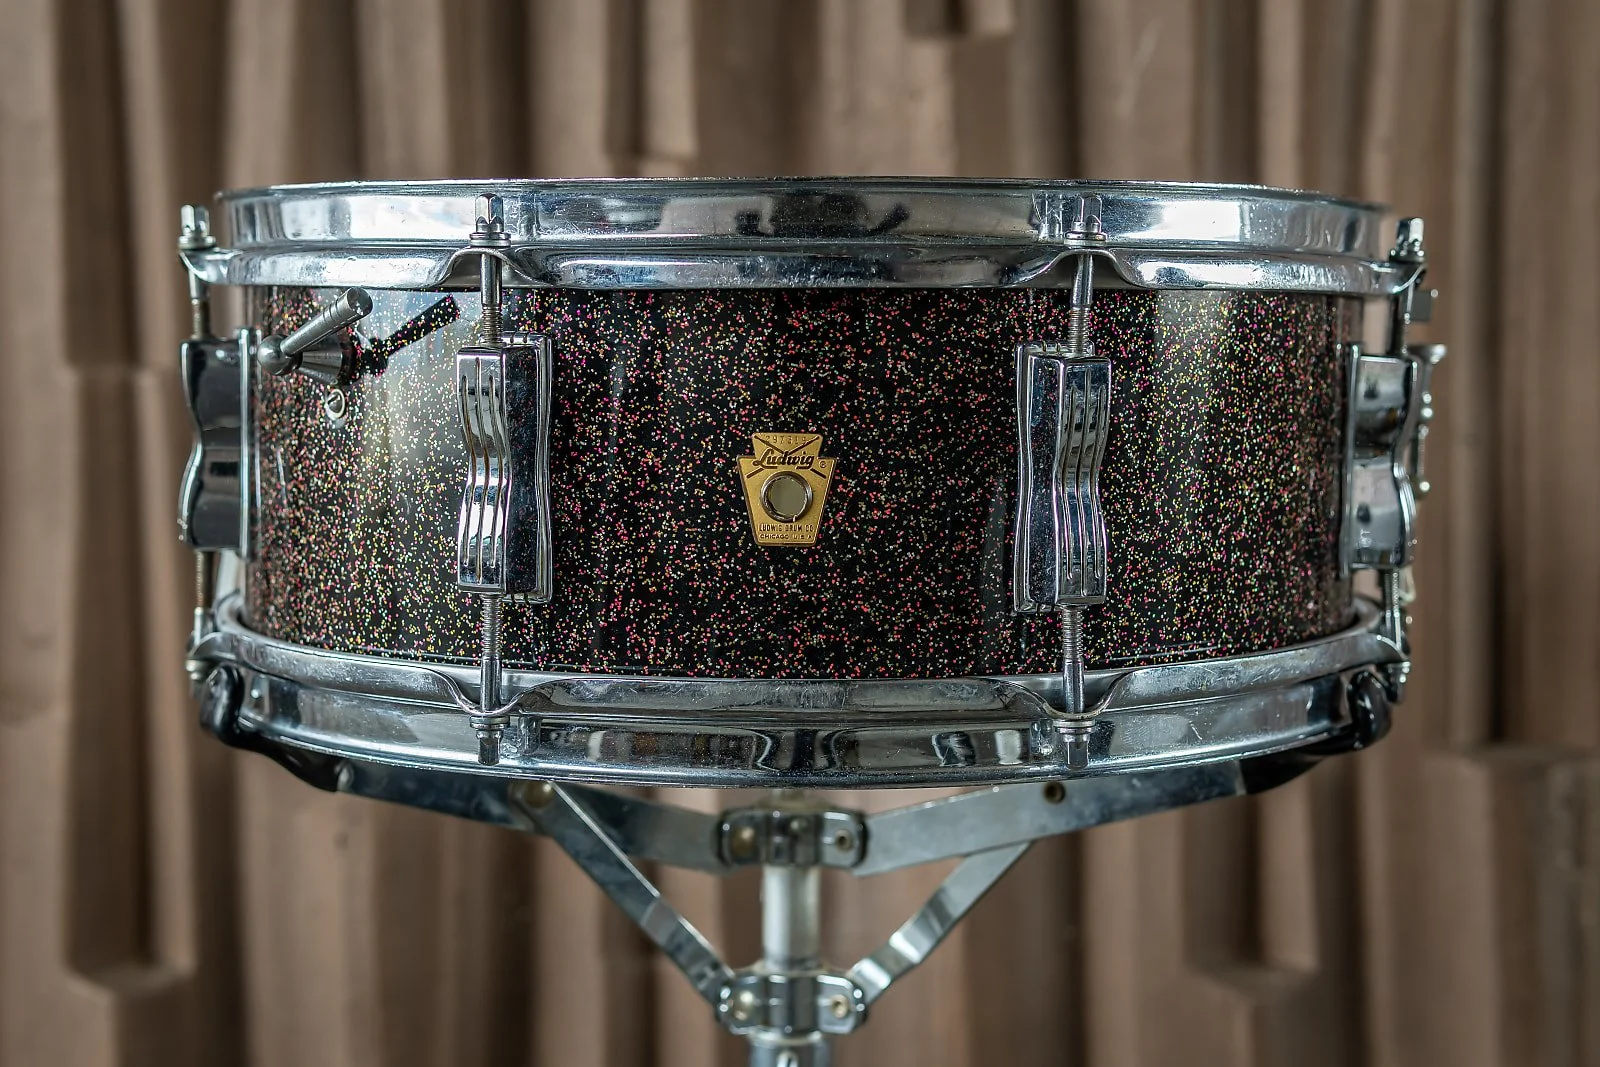
From there, I began the slow process of bringing the shine back. I hand-sanded the wrap in multiple stages, gradually moving through grits from 220 all the way up to 3000. Once the surface was fully prepped, I used a buffing machine with plastic polish to bring the luster back to life.
Finally, I reinstalled an era correct badge (the shell was missing one when I bought it) and cleaned and reassembled all the hardware. Now this drum is back to its former glory and ready to be played for many more years to come.
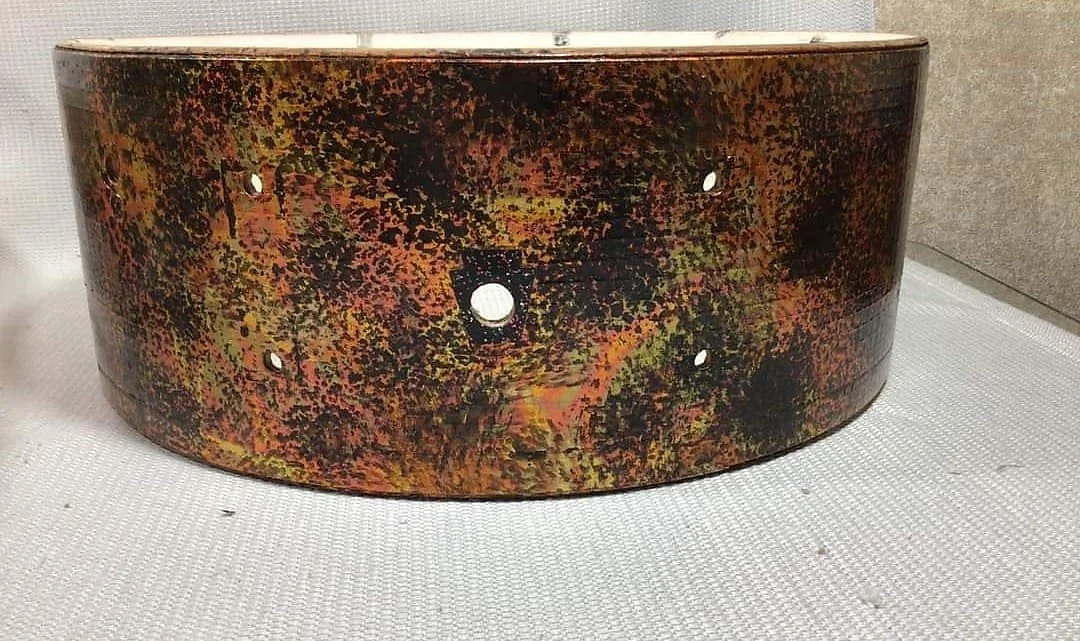


Ludwig Super Classic Drum Set Restoration
This Ludwig Super Classic kit in Sky Blue Pearl came to me covered in a thick layer of black paint.
Restoration followed the same steps as above. Scraping with a razor blade to remove the bulk of the paint and then wet sanded to bring the luster back. From there the wrap was buffed and the drums were reassembled.
This project was done early on in my restoration journey, and while the wrap didn’t turn out quite as glossy as I had hoped, the next owner was very happy with the results.


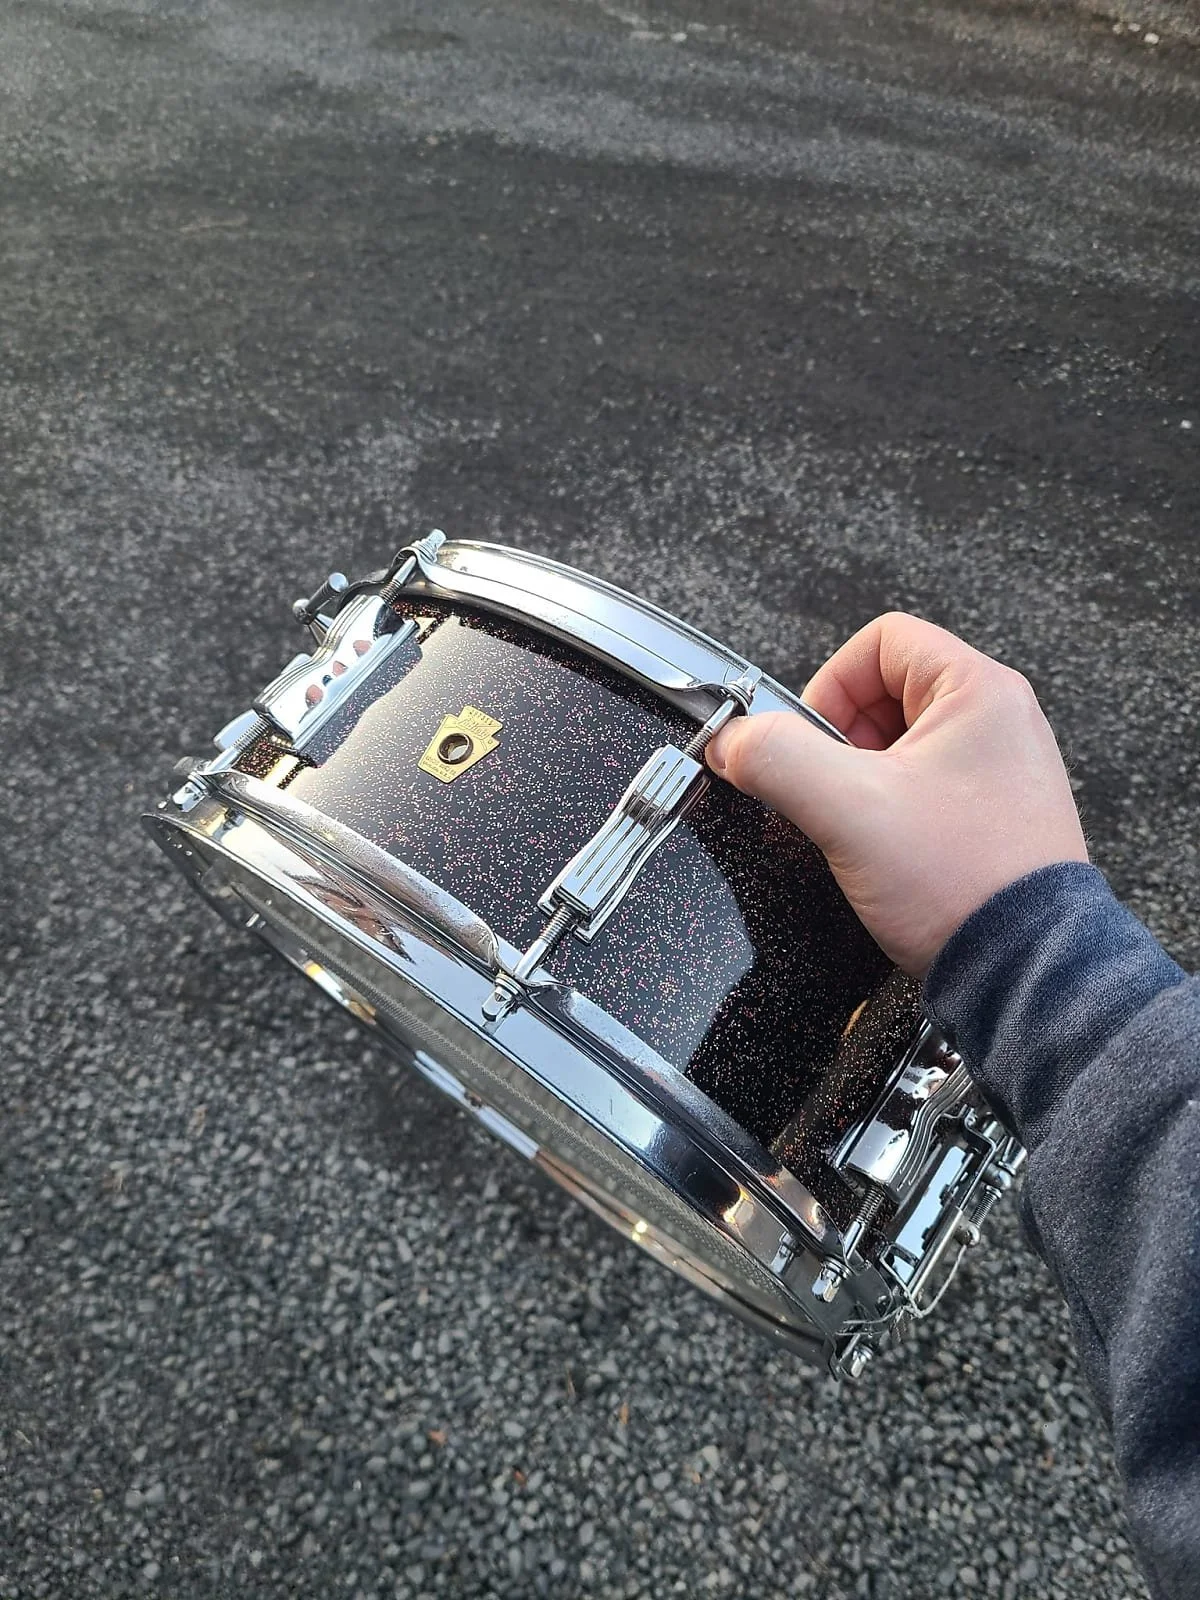
Ludwig Red Sparkle Jazz Festival Snare Drum Restoration
This Ludwig Jazz Festival Snare Drum in Red Sparkle came to me covered in a thick layer of black paint.
Restoration followed the same steps as above. Scraping with a razor blade to remove the bulk of the paint and then wet sanded to bring the luster back. From there the wrap was buffed and the drums were reassembled.
This project was done early on in my restoration journey, and while the wrap didn’t turn out quite as glossy as I had hoped, the next owner was very happy with the results.